I usually shoot less than two hundred photos per personal project and less than a thousand photos for my company’s internal events. Therefore, I couldn’t understand why someone would spend a few hundred dollars to get an editing controller instead of using keyboard shortcuts and a mouse/trackpad.
What Change My Mind?
My mindset changed after taking a few full-day wedding shoot sessions. Each shooting session can easily hit 2000 – 3000 shots, followed by a full day or two for culling and days or even weeks of editing. The daily 12 hours of photo editing results in a pair of painful hands when I wake up the following day.
I am eager to look for an editing controller that could do the following:
- Relieve my hand pain by reducing the hands’ movement and fingers’ traveling distance
- Increase the number of edited photos by 30% within the same amount of editing time
After browsing for editing controllers online for a while, TourBox Elite catches my attention. I immediately ordered the black version and received it in around 2 weeks from China to Singapore.
TourBox Elite Specification
I extract part of the specification from TourBox official website:
- Dimension 116 (L) X 101(W) X 44 (H) mm
- Weight 376g (exclude battery)
- Outer material – ABS
- Button material – PC
- Dial and wheel material – PC & TPU double injection molding
- Black and white version – UV anti-fingerprint coating; Translucent version – no extra coating
- Dual-channel BLE5.0 & USB-C cable connection
- Battery Life – up to 2 months
Pros & Cons
After using the TourBox Elite for 4 weeks of photo editing in Lightroom (an average of 12 hours per day) on my M1 Max MacBook Pro (read my M1 Max MacBook Pro review here), I summarize the following pros and cons:
TourBox Elite Body Design
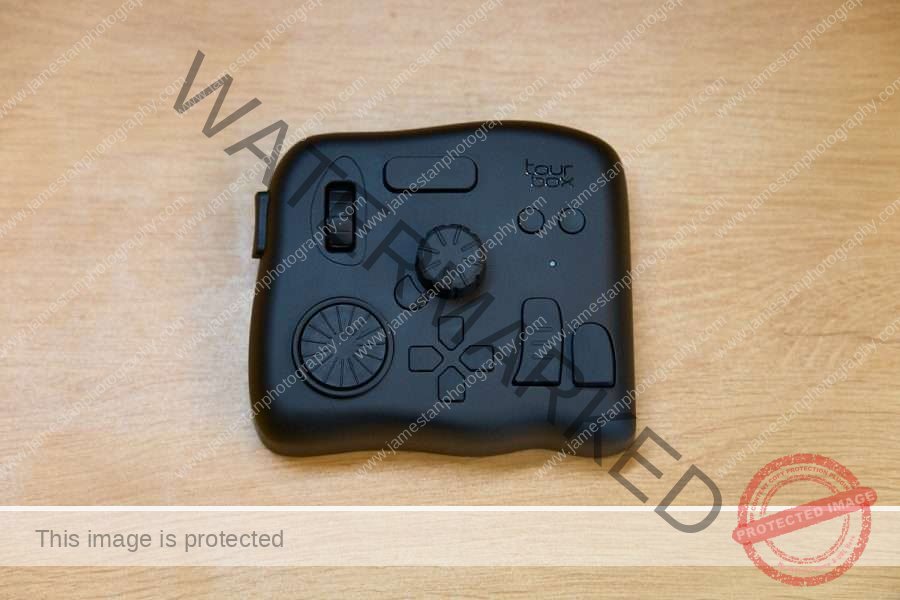
TourBox Elite impressed me with its solid build when I first took it out of the box. The controller has a thick plastic body with a matte black coating. Thanks to the anti-fingerprint coating, the TourBox Elite controller is nearly free of all fingerprints and oily stains after one month of intensive photo editing (Yea, you might find minor stains if you are trying hard to inspect it from various angles under strong light)
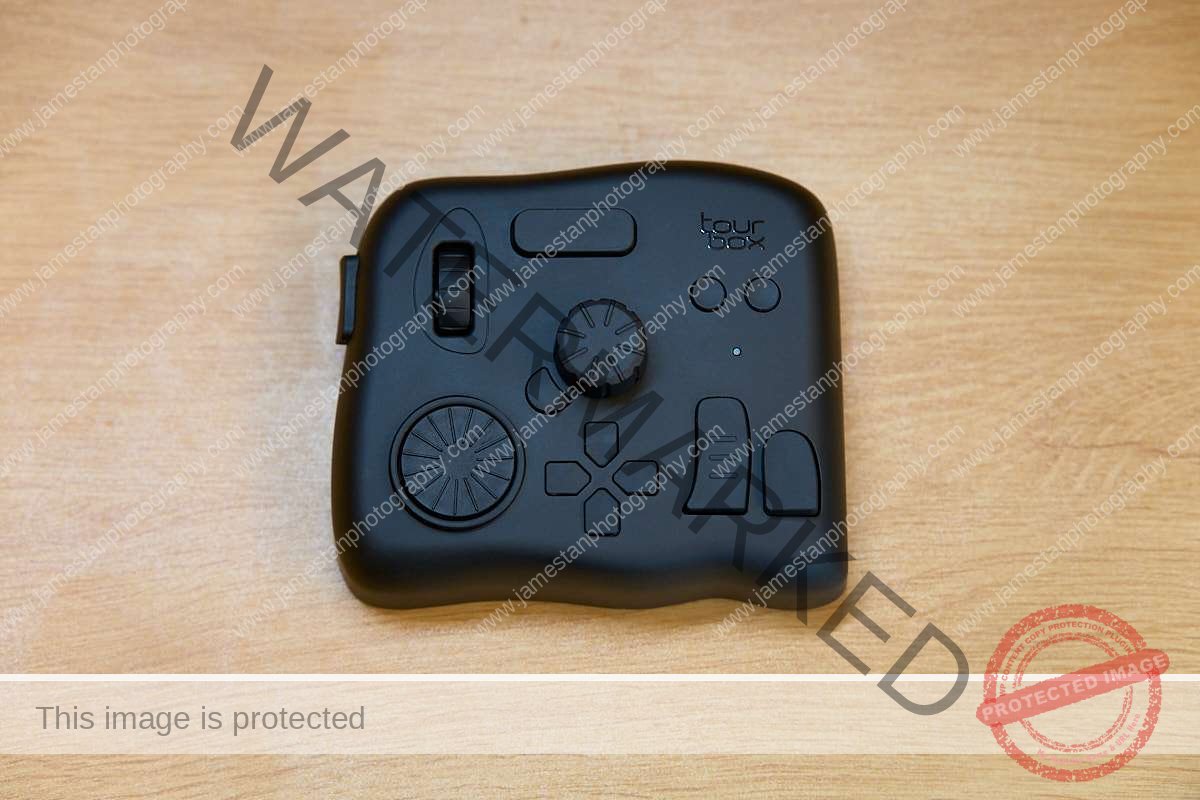
There are 11 clicky buttons and 3 wheels (the dial, scroll, and knob) in different shapes, and they utilize 4 kinds of switches. Clicking the 4 primary (side, top, tall, short) buttons is oddly satisfying. The 7 smaller buttons are stiffer and less clicky but still provide good tactile feedback.
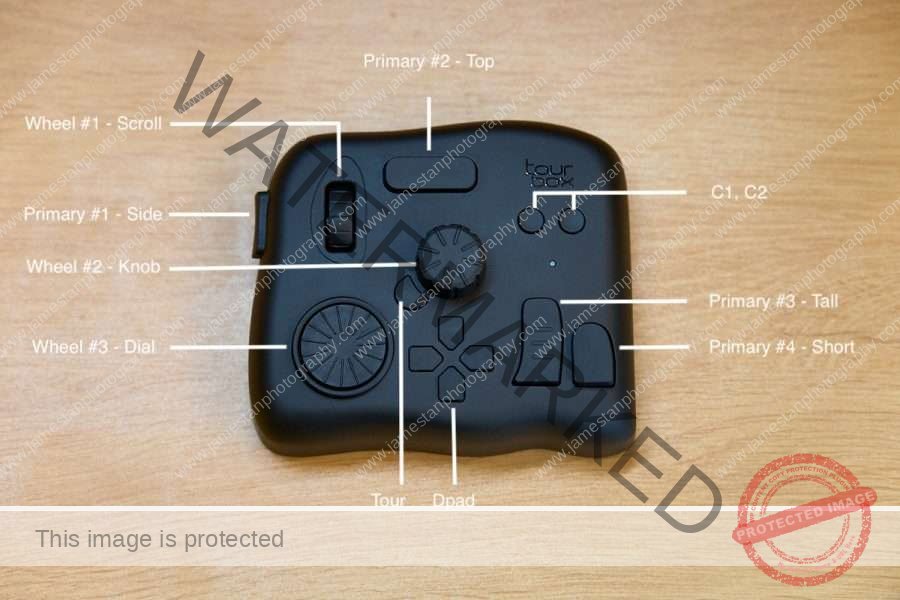
I was confused when I tried rotating the 3 wheels. “Where is the advertised haptic feedback? Is it faulty?” The doubts are cleared when I connect the TourBox Elite to my MacBook Pro. Apparently, the haptic feedback only works when the TourBox controller is connected to the computer and the TourBox Console software is active.
Once the connection is in place, you can customize each wheel’s haptic feedback intensity and speed. The haptic feedback immediately boosts the user experience of using the wheels for precise adjustment (and satisfaction).
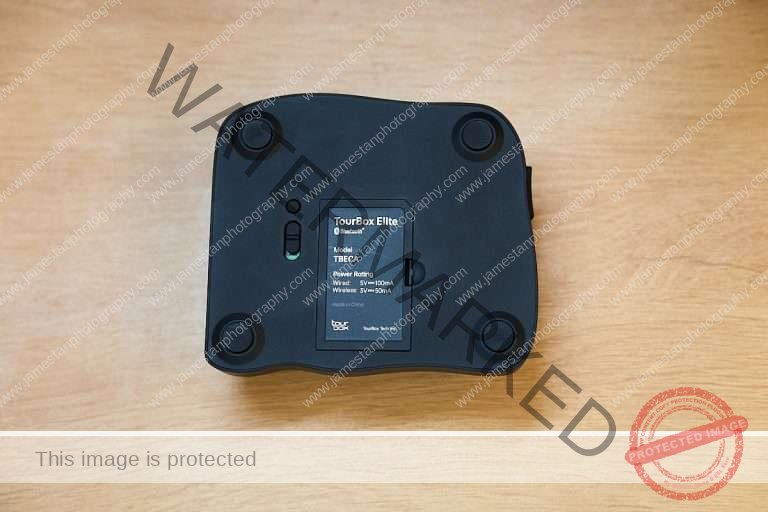
The bottom of the controller has an on/off switch, a Bluetooth connection button, and a AA battery compartment. There are 4 rubber feet to prevent the controller from sliding around your table. The on/off switch has a red and green label beneath the switch to indicate the on/off status.
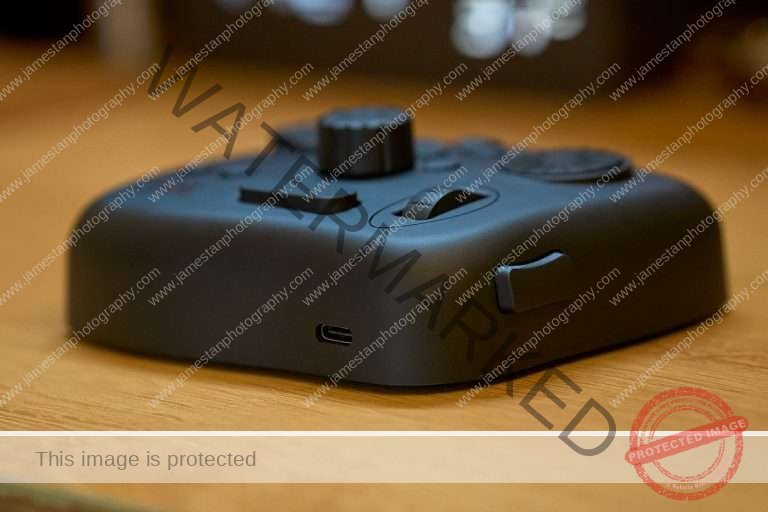
There is a USB-C connection port at the front of the controller. It is good to see modern devices use the newer USB-C as a connection port instead of the older micro-USB. You can use it as a regular connection or a backup in case you run out of AA batteries. However, it does not charge your AA batteries in the TourBox Elite.
Ergonomics
All the buttons and wheels are at your fingertips with minimal/no hand movements. You can quickly identify each button by shape, surface texture, clicky feedback, and location. I took around 2 hours to customize the default Lightroom preset and gain the muscle memory to comfortably edit with TourBox Elite without looking at the controller.
If you wonder whether TourBox Elite is ambidexterity, I will say it is optimized for left-hand usage.
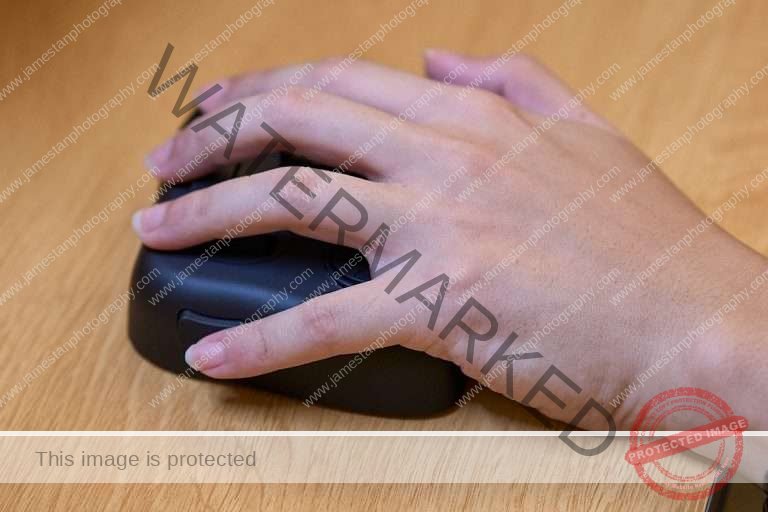
The side button location makes it hard for the right-hand thumb to access, especially when you use it as one of the combo keys with the Dpad.
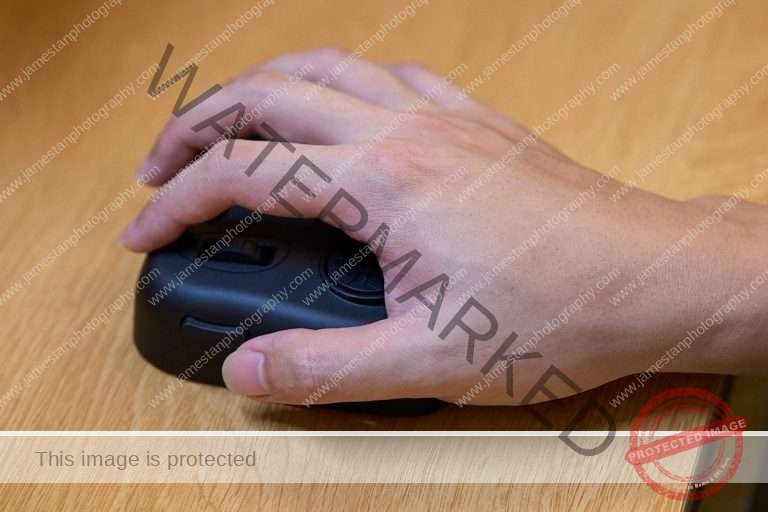
One way to use TourBox Elite on the right hand is to rotate it 180 degrees upside down. This position leads to another minor issue for cable users – you will have a U-turn cable from the controller connected to your computer because the USB-C port is facing you. If the side button is located at the center-left side of the controller, then it could be more versatile for both left and right-hand use.
It is not a serious issue because you will likely use the TourBox Elite’s fantastic Bluetooth connection. Besides, you are going to use the TourBox Elite with a mouse/trackpad together for editing most of the time.
Connectivity
You can connect the TourBox Elite controller to the computer via USB-C or Bluetooth. Do note that the controller does not show up in Mac’s standard Bluetooth connection settings. You must install TourBox Console software to detect and connect the controller via Bluetooth. Luckily, setting up the Bluetooth connection is hassle-free.
TourBox Elite features a dual-channel Bluetooth LE 5.0 connection. In simple, you can connect the controller to up to 2 devices and use it for a more extended period. The Bluetooth connection is stable and responsive. I never experience any lag or drop of signal throughout my one-month intensive editing.
Battery Life
TourBox Elite controller is powered by 2 AA batteries. Personally, I prefer AA batteries powered devices because I can swap the degraded batteries and keep my good-condition devices operating.
The default alkaline AA batteries lasted 4 weeks of intensive photo editing on Lightroom Classic (average 12 hours of editing per day) and another 2 weeks of standby (I did some preset tuning during this period).
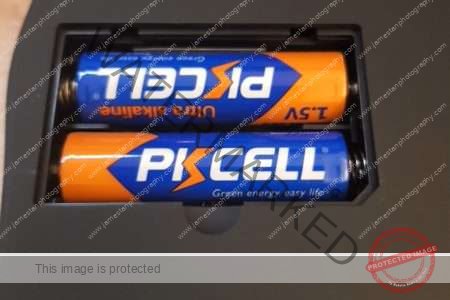
Unfortunately, there is no way to tell the remaining battery life from the software or the hardware. I’m unsure if this feature could be added in the future software release.
TourBox Console
The TourBox Console software is necessary to connect the TourBox Elite controller and make it works among different application.
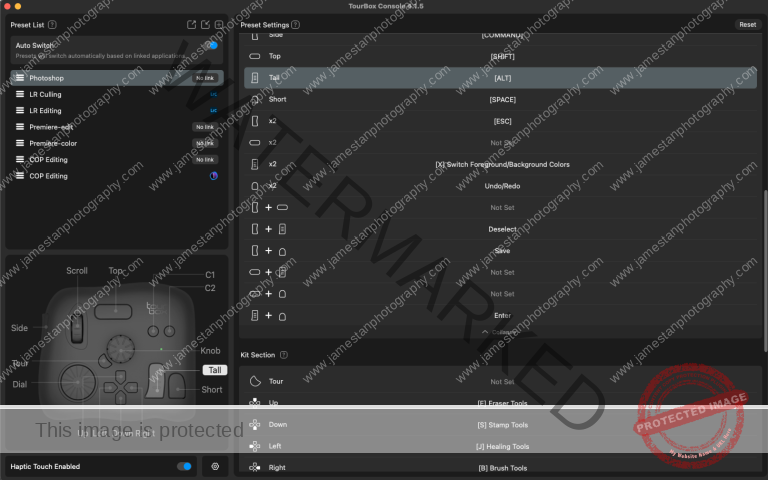
Its layout is simple, yet the TourBox team still provides many clearly written explaination in various ways, e.g., local help page, hovering function name, and labeled descriptions.
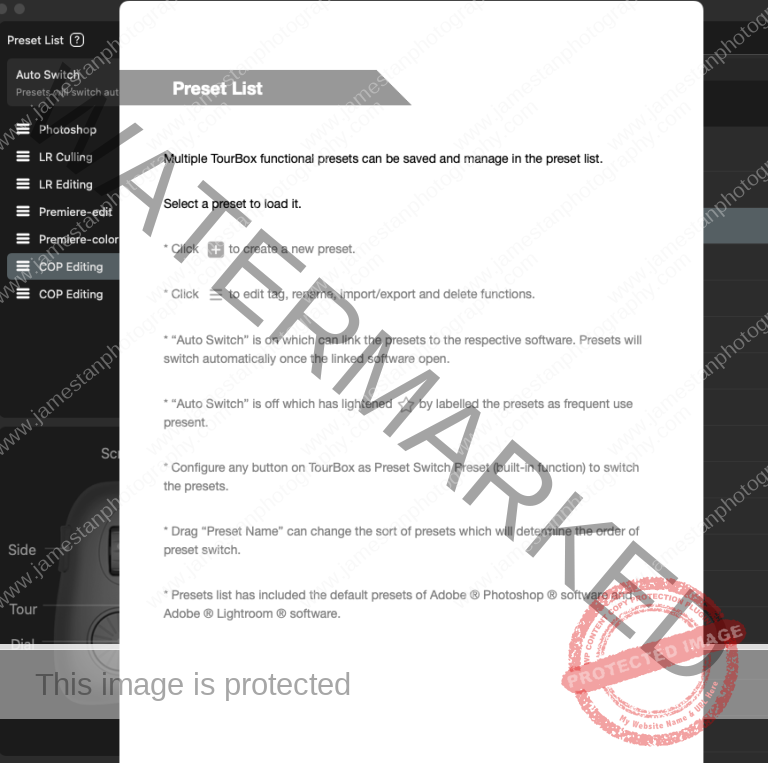
TourBox Console allows you to use up to 30 presets at a time and link multiple presets to the same application. Each preset could map any of the following:
- shortcut keys (you have to enter the shortcut manually if you make the preset from scratch)
- built-in functions (a list of pre-mapped shortcuts for Adobe Photoshop, Lightroom, Premiere, and general system multimedia controls)
- Macro commands
- TourMenu (a customizable contextual menu similar to a right-click menu)
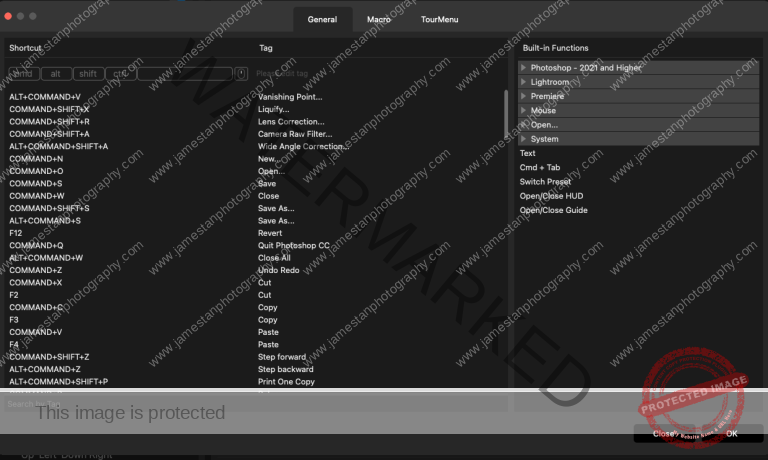
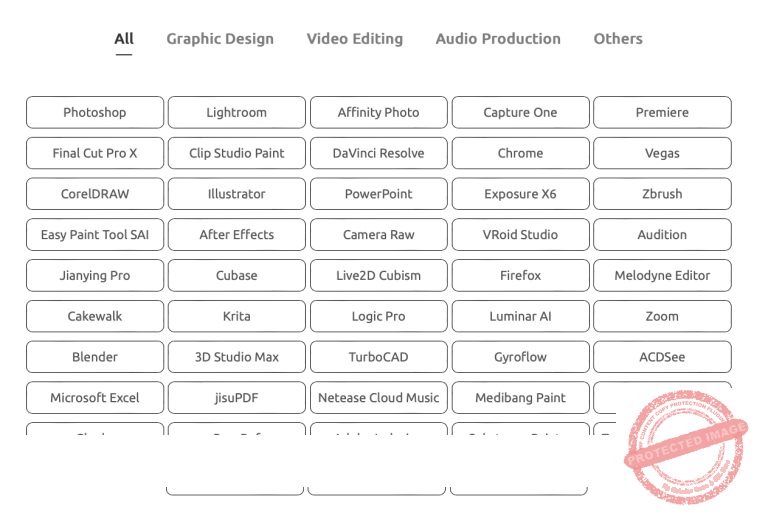
Does it mean you are out of luck using the TourBox Elite on other editing software? No. Technically, you can link the controller to any application with shortcut keys. However, I suggest you download the respective preset from the TourBox community and modify it further.
Preset Switching
How could we handle multiple presets in different applications? There are 2 preset-switching scenarios:
- When you change to a different application, TourBox Console automatically switches the linked preset
- When you are using an application with multiple presets, you have to manually switch the linked presets
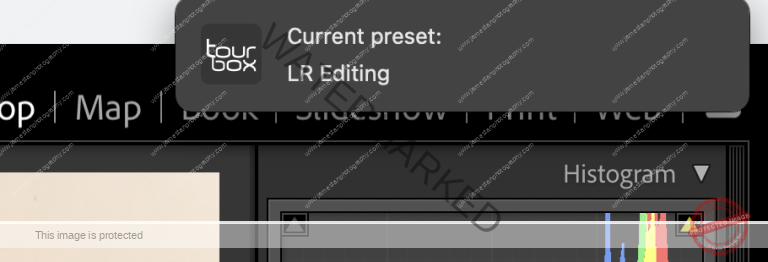
TourBox Console will prompt the currently in-used preset if you have enabled the “Notice of preset switching” in the settings.
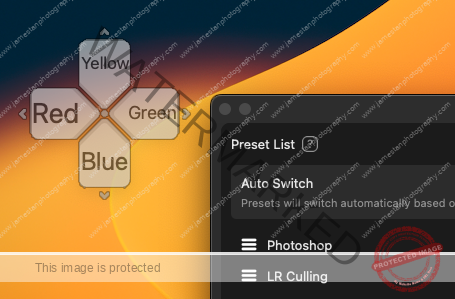
As a side note, the Dpad can be used with another two keys to map a total of 12 shortcuts, and you can choose to display the Dpad’s HUD to remind you of the shortcuts to be triggered.
I only mentioned the essential areas of TourBox Console software to keep this review clean and short. Nonetheless, it is highly polished with a slick and friendly user interface, smooth running on the M1 MacBook Pro, and seamlessly integrates into a wide range of applications.
Could TourBox Elite Replace Keyboard and Mouse For Photo Editing?
Yes and No. The Yes is for the keyboard, and the No is for the mouse/trackpad. The purpose of using an editing controller is to trigger those most frequently used shortcut keys in one or two clicks without memorizing more complicated key combinations.
Since TourBox Console allows you to link multiple presets to the same application, you likely can map all your frequently used shortcut keys in the presets, e.g., use separate culling and editing presets for Lightroom. However, the mouse/trackpad is still essential to perform the tasks like moving the zoomed-in photo, brush painting, adjusting the cropped framing, etc.
Does It Improve The Editing Efficiency?
I repeat the following steps 10 times on the same photo to simulate part of my editing workflow in Lightroom.
- Go to File > Plugin Extras > Point to plugin
- Adjust Temp from 4600K > 5800K > 5200K > 4400 K
- Adjust Tint from +2 > +8 > +6 > -1
- Adjust Exposure from 0 > +0.85 > +1.25 > +1.05
- Reset All Adjustment
Using keyboard shortcuts and trackpad takes 6m45s; using TourBox Elite and trackpad takes 4m34s. It is an impressive 32% time-saving. In other words, I can use the same amount of time to edit nearly 48% more photos.
Of course, more parameters and actions are involved in the real-life photo adjustment, and the improvement will vary from person to person. I did not count the actual throughput improvement. Still, I completed the editing in a significantly shorter time (it saved me around half to one day) than the previous editing with a similar number of shots (culling for 2K+ photos and editing around 300 selected shots).
Any Other Benefits From Using TourBox Elite?
Yes!!!! My hands were relieved from pain from the days to days of intensive editing. It is the first reason that pushes me to look for an editing controller. Instead of repeatedly pressing different keyboard shortcuts or using the mouse/trackpad to drag the sliders for respective parameters, using the knob to adjust various parameters is much more satisfying and effortless.
With TourBox Elite, I can directly trigger and adjust the target parameter without looking at the editing panel and the controller’s keys. As a result, I can fully concentrate on checking the adjustment effect with minimal distraction. It brings an immersive editing experience I could hardly replicate using keyboard shortcuts and mouse/trackpad.
Verdict
The small footage and eye-free controls make TourBox Elite a productivity tool that significantly improves workflow efficiency and makes editing more fun. The hardware controller has a fantastic build quality and good battery life; the software console is highly polished and seamless in controlling various applications. It is a pity that the battery life indicator is currently missing in the console software and controller hardware.
Improvement in editing efficiency might not sound attractive to casual users. However, the joyful and immersive editing experience applies to all of us and makes TourBox Elite worth considering as your first/next editing gadget. Are you using TourBox or any other editing controller in your current workflow? Feel free to share your experience with us too!
Is This Post Helpful To You?
I started this site with the intention of sharing my learning and working experience in photography. It takes significant time and cost to pick up and learn a new gear/technique, and then draft a post to share with everyone. The effort is worthwhile if it helps you and others save unnecessary time and money. I would be glad if you benefit from my content, and you may leave a one-off tip to keep this site running.
Besides, you may support this site by making your purchase through the affiliated links below. The product price is the same when you use the affiliate link, but a qualified purchase earns me a small commission. As an Amazon Associate I earn from qualifying purchases.

![[Impression] Tamron 35-150mm Di III VXD F2-F2.8 for Sony FE](https://www.jamestanphotography.com/wp-content/uploads/2022/03/20211019_tamron35150_0001-300x200.jpg)
