When the DxO first introduced the Prime noise reduction in its DxO Optics Pro 9, it caught my attention immediately. Although I’m satisfied with the Lightroom 5 noise reduction, I’m still interested in how better the Prime NR can be. However, the processing and loading time in DxO Optics Pro 9 was significantly slower than Lightroom 5.
Soon, DxO released the DxO Optics Pro 10, which claims that the Prime NR performance and loading time in DxO Optics Pro 10 had been boosted up to 4 times and 10 times faster, respectively, than it was in DxO Optics Pro 9. So I grabbed a copy and gave it a try, wow! Impressive! The Prime NR only takes between 1 minute to 1 minute 20 seconds to render my photos on my MBP 13 late 2013, and the loading time for images is significantly improved!
I spent some time searching online, but there is not much comparison between DxO Optics Pro 10 vs Lightroom 5. Therefore, I decided to compare myself and share with you all because the DxO Optics Pro 10 is definitely worth the try.
1. Landscape Rendering and Adjustment
First of all, we will look at the comparison of the rendering capability of both applications. Besides the standard shadow and highlight recovery, DxO Optics Pro 10 also introduces Smart Lighting optimization. It brings out the details from underexposed and overexposed areas.
No Correction
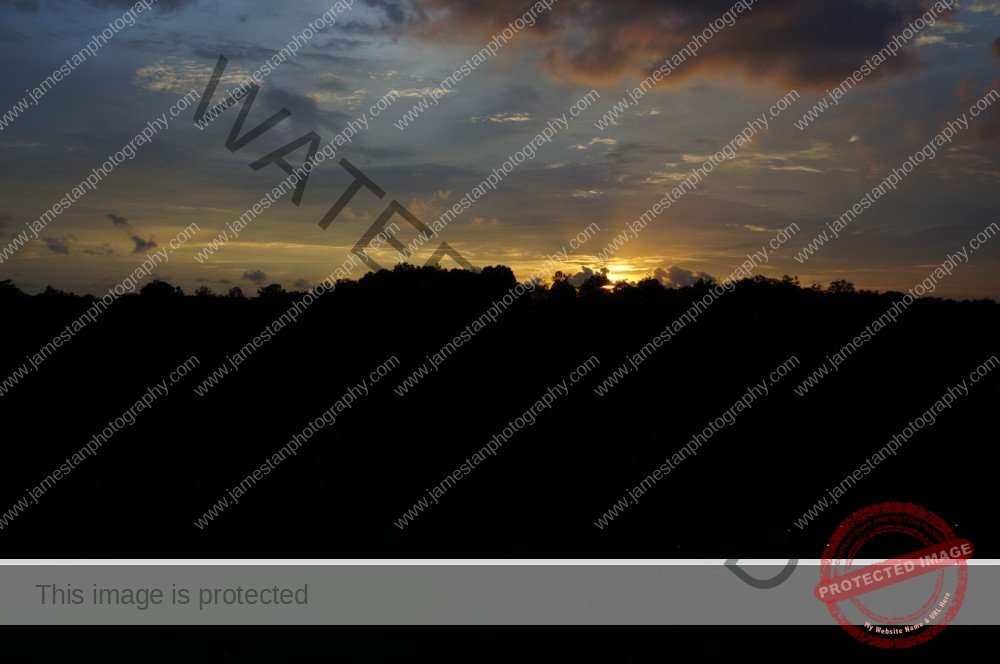

The default rendering for both applications seems not much different.
Auto Adjustment


When applying the auto adjustment, Lightroom 5 opens up more than the DxO Optics Pro 10 due to the different default settings. Lightroom 5 increases exposure, and recovers the highlight and shadow. While the DxO Optics Pro 10 only does the lens correction and applies DxO’s Smart Lighting in slight intensity as default.
Fine Tune


After applying some quick adjustments, both results looked pretty good and very similar to each other.
However, DxO Optics Pro 10 tends to be more vibrant and saturated than Lightroom, even though I set the vibrancy and saturation of DxO to 0. In contrast, Lightroom 5 vibrancy is set to +65 and saturation 0.
The highlight and shadow recovery tools in DxO Optics Pro perform more subtly than the Lightroom 5. Without the DxO’s Smart Lighting optimization, its highlight and shadow recovery tools do not perform as effectively as the Lightroom 5’s recovery capability.
Both applications utilize their technology to render the images, and the results are decent and pretty close to each other.
Winner: Tie
2. Noise Reduction
DxO Optics Pro 10 provides two different NR technologies – high quality and the Prime. The Prime NR calculates 1000 surrounding pixels to perform NR, and it is only available in the Elite version.
Both comparison shots below were shot at ISO 1600 with Sony NEX 6 and show in 100% crop.
Comparison Set 1



Lightroom 5 NR does a decent job. DxO high-quality NR has slightly better performance (look at the blue light surrounding), while the DxO Prime NR gives a cleaner and sharper image than the other two NR.
Comparison Set 2



The second comparison makes it more obvious to see the difference between DxO’s Prime NR and the other two NRs. DxO’s Prime NR gives cleaner results and retrieves more details in this comparison.
In general, both DxO’s high-quality NR and Prime NR give cleaner results and more details in high ISO shots than Lightroom 5’s NR. The difference between DxO’s high-quality NR and Lightroom 5’s NR is not that far, but both of them are certainly outperformed by the DxO’s Prime NR.
Winner: DxO’s Prime NR (only available in the Elite version)
3. Perspective Correction
Adobe had introduced the Upright tools in Lightroom 5 to perform perspective correction, while the DxO Optics Pro 10 has to install the DxO Viewpoint 2 plugin (sell at USD 79 as standalone with plugin) to do the same job.
Lightroom 5’s Upright tools have both auto and manual adjustment modes, but the DxO’s perspective correction is available in semi-auto and manual adjustment. Semi-auto? Yes, we have to place the alignment tools ourselves instead of a one-click button in Lightroom 5 to perform the correction. Although it is troublesome, it provides the flexibility to correct the perspective.
Comparison 1

Vertical Correction
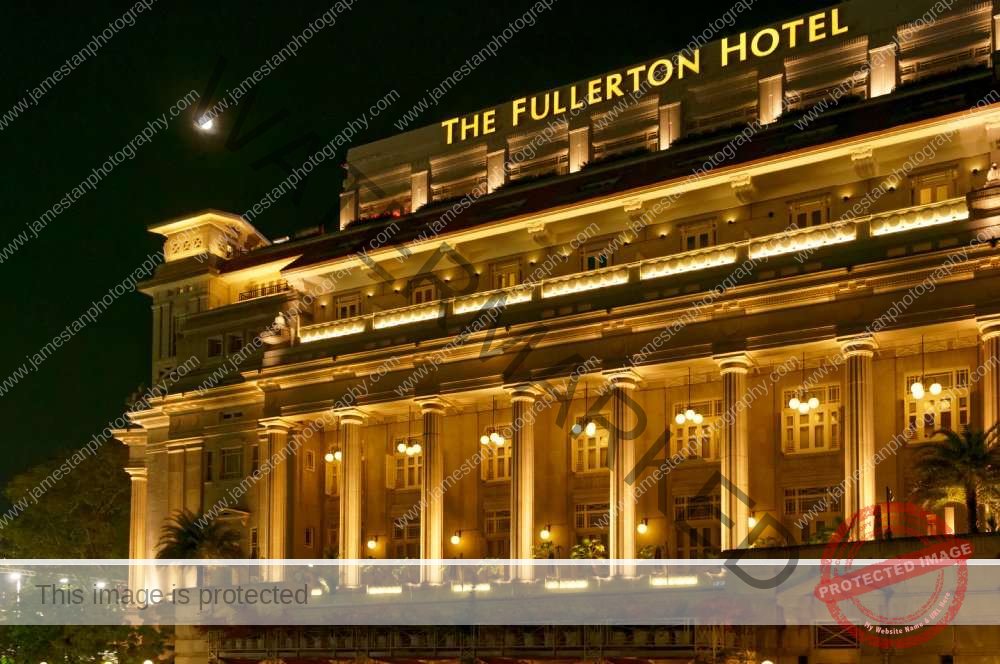
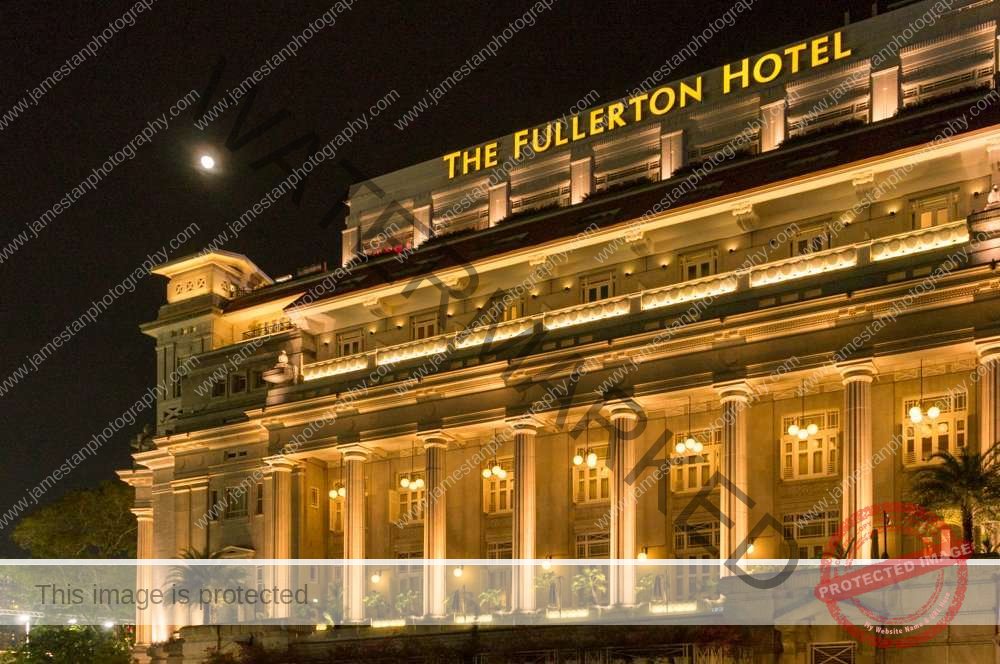
Both results are similar to each other, but Lightroom 5 only requires one click.
Full Correction


I used the DxO’s 4 points tools to correct the whole picture, while the Lightroom 5 only requires one click.
Auto Adjustment (Only Lightroom 5)

Lightroom 5 provides Auto adjustment. It does a decent job to correct the vertical perspective and horizon.
Comparison 2
The second comparison compares the DxO’s 8 points correction and Lightroom 5 Auto-correction.

Correction
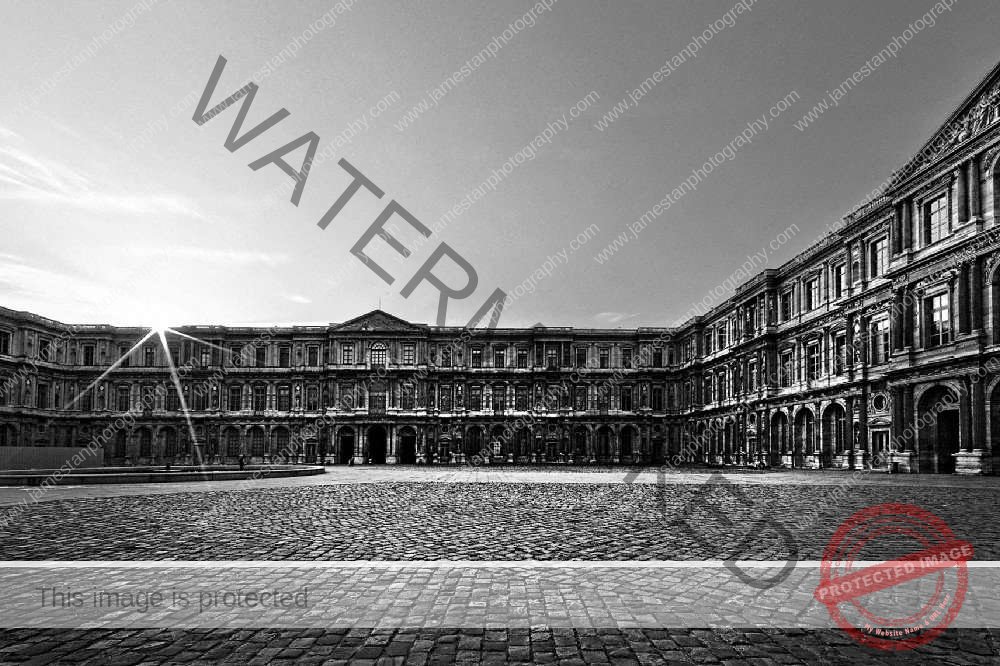

Both applications give the perspective decent correction, but the Lightroom 5 only requires one click rather than self-selective adjustment.
Winner: Lightroom 5
4. Volume Deformation
Besides the perspective correction, the DxO Viewpoint plugin also provides the volume deformation correction used to correct the distortion caused by wide-angle shots. Finally, this action is an Auto adjustment in DxO Viewpoint plugin, so does the Lightroom 5 Auto adjustment manage to do the same job with one click?
Default

Correction


Both applications do a good job correcting the wide-angle distortion, but this time Lightroom 5 needs to perform manual adjustment because none of the auto adjustments works in this case.
Winner: DxO Optics Pro 10
5. Distortion Correction
DxO is well known for its lens distortion correction, especially the wide-angle and fisheye lens. I use the sample shots from DxO that were shot by Canon Fish-eye 15mm for the comparison below.
Default

Correction



Neither Lightroom 5’s Upright tool Auto adjustment nor the combination of the Auto adjustment with the manual distortion correction (+100) gives acceptable correction.
Interestingly, the DxO Optics Pro 10 does not recognize this image’s camera and lens combination, while the DxO Viewpoint 2 recognizes it and prompts the DxO module download. Although one click in DxO Viewpoint 2 fixed the distortion perfectly, I still chose to manually correct it in DxO Optics Pro 10 for a fair comparison.
Manually choose the correction type as fisheye and set the intensity to +77, bang! The correction is as perfect as it does in the DxO Viewpoint 2.
Winner: DxO Optics Pro 10
6. Portrait Rendering
When processing portrait shots, I was frustrated by the cool-down skin tones in a warm shot. Lightroom 5 provides red, orange, and yellow tones, while DxO Optics Pro 10 provides red and yellow tones. It takes me awhile to figure out the balance to cool down the skin tones without desaturating too much red color in the shots.
Let’s see what’s the results are after some fine-tuning with both applications.
Auto Adjustment


I applied DxO’s portrait preset, but the lady’s skin tone was still reddish than the Lightroom 5’s Auto adjustment.
Fine Tune


After some trials and errors, I managed to cool down the skin tone and preserve the red color of the dress in both Lightroom 5 and DxO Optics Pro 10.
I prefer the DxO when processing portrait shots because of its micro contrast adjustment and the vignetting blur effect (has to install DxO Film Pack Elite 5). Lightroom 5’s clarity tool works similarly to DxO’s micro-contrast adjustment, and the radial filter may simulate the DxO’s vignetting blur effect. Still, DxO provides a unique soft and dreamy look, and it renders the skin more naturally than Lightroom 5.
However, Lightroom 5 provides local adjustment tools so I can enhance the iris, brighten the teeth, and etc. but I cannot do so in DxO Optics Pro 10 because DxO has not introduced these masking tools yet.
Winner: Tie
7. Dust Removal Tool
Lightroom 5 provides heal and clone tools, while the DxO Optics Pro 10 only provides dust removal tools. Both Lightroom 5’s heal tool and DxO’s dust removal tool do a decent job removing simple dust spots or branches by blending in color. What if we want to remove a more complicated object, like a human being in the shot below?

Comparison


Well, both applications manage to remove the people in the shot, but the Lightroom 5 outperforms DxO Optics Pro 10 here. Lightroom 5 lets us choose the healing source to select any part of the image to blend in the place we want to remove.
Winner: Lightroom 5
8. Remove Haze
DxO Optics Pro 10 introduces the DxO Clear View, which gives the image a clearer and more vibrant view. Although Lightroom 5 does not have this specific function, it is good to see whether the DxO Clear View has outstanding performance that Lightroom 5 cannot match.
Default

Comparison


With a single click, DxO Clear View gives the image a more vibrant view and nicely preserves the white color. Using Lightroom 5 auto tone, I have to increase the vibrancy to get the rich blue sky and make some HSL adjustments to keep the building white.
Default 2
Let’s compare the night shots and see what’s the difference between both application outputs.

Comparison 2
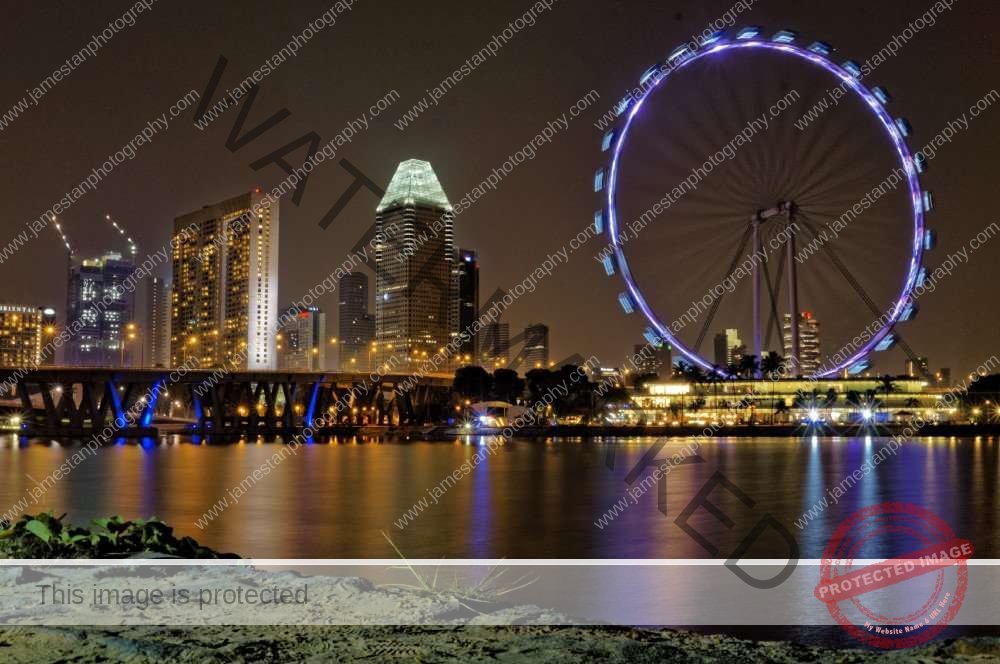
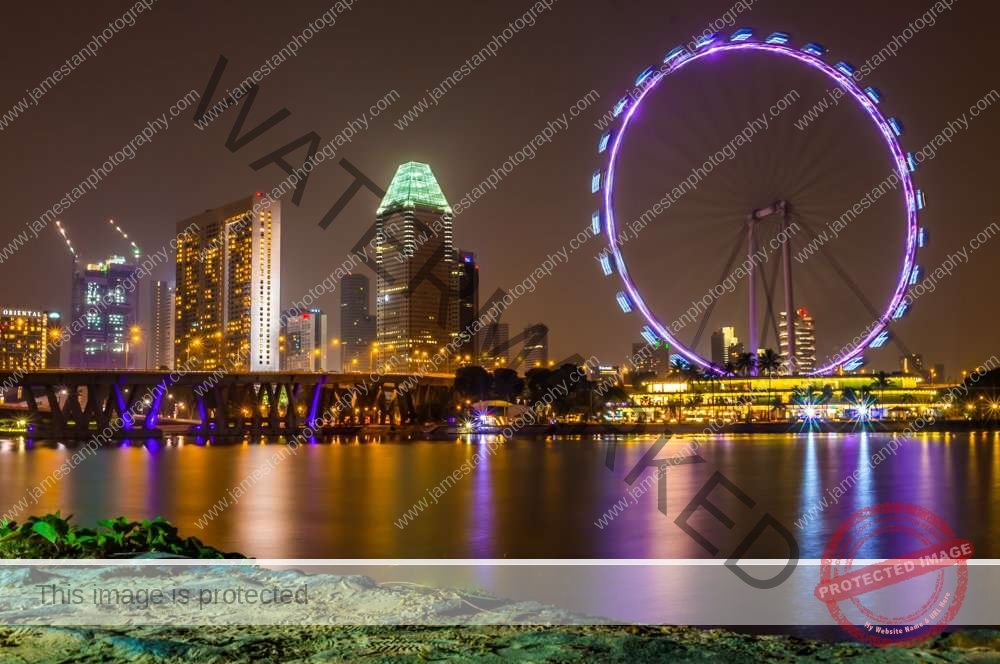
Again, Lightroom 5 needs a few quick adjustments to achieve a similar result as DxO’s Clear View one-click adjustment.
Well, both applications manage to produce a similar “clearer view”. DxO Clear View provides an easier way to clear the “haze”, while it is great that Lightroom 5 also manages to give similar results with some adjustment.
Winner: Tie
Special in Lightroom 5
- Digital Asset Management (with Keywords and Color Tagging)
- Graduated Filter
- Local Adjustment Brush
- Healing and Cloning Tool
- Radial Filter
- Red-Eyes Removal
- Simpler User Interface
- Flag Label for Accept/Reject
- Watermark Output
- Various Supported Plugin from Different Application (DxO Viewpoint, DxO Filmpack, Photomatix, Photoshop, Google Nik Collection, etc.)
- Cheaper (USD 149 compared to DxO Optics Pro 10 Elite USD 199, DxO Viewpoint 2 USD 79 for perspective correction, if you need the split toning, vignetting effect, vignetting blur/soft-focus effect and etc. you will need to purchase DxO Film Pack 5 Elite at USD129)
- Smaller File Size when Export at 99% and 100% Quality
Special in DxO Optics Pro 10
- Local File Management
- Great Micro-contrast Adjustment
- Specific Contrast Adjustment for Fine-contrast, Highlight, Midtones, and Shadow (need the DxO Film Pack Elite 5, sell at USD 129 separately as standalone and plugin)
- Excellent Prime Noise Reduction (only available in DxO Optics Pro Elite 10)
- DxO Smart Lighting
- DxO Lens Softness
- Excellent Distortion and Perspective Correction
- Specified Lens and Camera Professional Adjustment
- DxO Clear View (only available in DxO Optics Pro Elite 10)
- DxO Anti Moire (only available in DxO Optics Pro Elite 10)
- Integration with DxO Viewpoint (sell separately in USD 79 as standalone application and plugin) for Perspective Correction and Volume Deformation Correction
- Fully Integrated DxO Filmpack (sell separately in USD 79 for Essential and USD 129 for Elite, both are sell as standalone application and plugin) for Professional and Legendary Film Grain, Blur Effect, Advanced Contrast Adjustment (Fine, Highlight, Shadow, Midtown), Channel Mixer, etc.
- Smaller File Size when Export at 98% Quality and Below
- Expendable Function Description/Explanation at Top-right Corner
Bottom Line
DxO Optics Pro 10 is slightly complicated to use than Lightroom 5. However, DxO provides the expandable function description within the application to simplify the learning. It is capable of producing decent results without using the local adjustment brush (it does not have it yet). It also offers supreme distortion and perspective correction, especially for wide-angle and fisheye lenses. I love the way it renders the skin and produces a unique silky smooth and dreamy look portraits. Besides, the DxO Prime noise reduction technology is the best in the market currently.
Lightroom 5 has a simpler user interface. Its graduated filter, healing/cloning tool, local adjustment brush, and radial filter are solid and robust. It also integrates with plugin such as Google Nik Collection, Photomatix, DxO Viewpoint, etc. Lightroom 5 provides greater flexibility in workflow. Its digital asset management is efficient in handling a large number of photo galleries using keywords and color tagging.
Both Lightroom 5 and DxO Optics Pro 10 can work together now. You may use the Lightroom 5’s DAM to manage the images, pass it to DxO for adjustment and raw converting, send the image with DxO adjustment back to Lightroom 5 again (only in tiff format) for further fine-tuning.
Both of them offer trial period. You should try them out before you buy them. If you prefer the DxO, I suggest you purchase the DxO Optics Pro Elite (USD 199) with DxO Viewpoint 2 (USD 79) to cover 95% of the need. If you prefer Lightroom 5, it sells at USD 149 as a standalone application.
All of them produce decent results. It is a matter of personal taste and choice. Please feel free to let me know what RAW processing software you are using currently and whether you get the help from this post 😉



Leave a Reply